Go to App Store (iOS) / Google Play (Android)
Search for “ER Assist. Select and install the app.
Open the ER Assist app
Login using your username & password.
If you do not yet have a username and password, ask your software administrator. While you can register for an account on this app without your software administrator’s assistance, accounts created independently will not be associated with your agency. If you need help “merging” or “deleting” accounts, submit a support ticket.
Entering Damage Assessments
After logging in to the app:
Click Get Started on the home page,
Click on your agency name.
(Contractors/Consultants under contract to multiple agencies only: select the appropriate client from menu on the left side. Direct employees of an agency will only see “their” agency).
Click Damage Assessments.
There are multiple “modules” within the ER Assist app, one of which is Damage Assessments.
Under Available Modules, click Damage Assessments.
Click on Event
You will be presented with the list of active damage assessment events. Usually there is only one event active/viewable at time, so you should only see one event. Click on the Event Name.
Note: If there are no active events, or if you need to create a new event, that must be done by a software admin using the Web Based Damage Assessment Module (SEE ER ASSIST Web-Based Damage Assessment (Laptop/Desktop) How To for instructions).
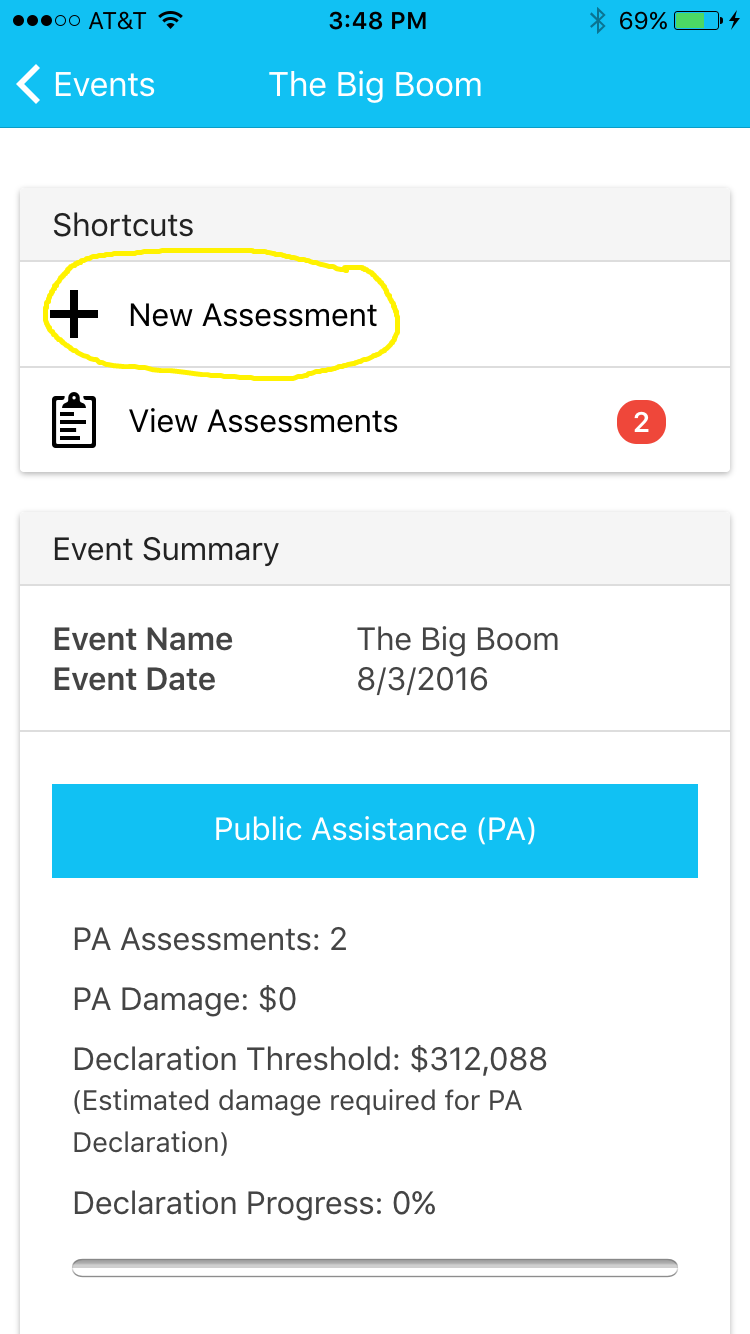
After selecting the Event, click + New Assessment.
Select the assessment type/damaged structure type:
For this example, select “Bridge / Culvert / Water Crossing” under Public Assistance
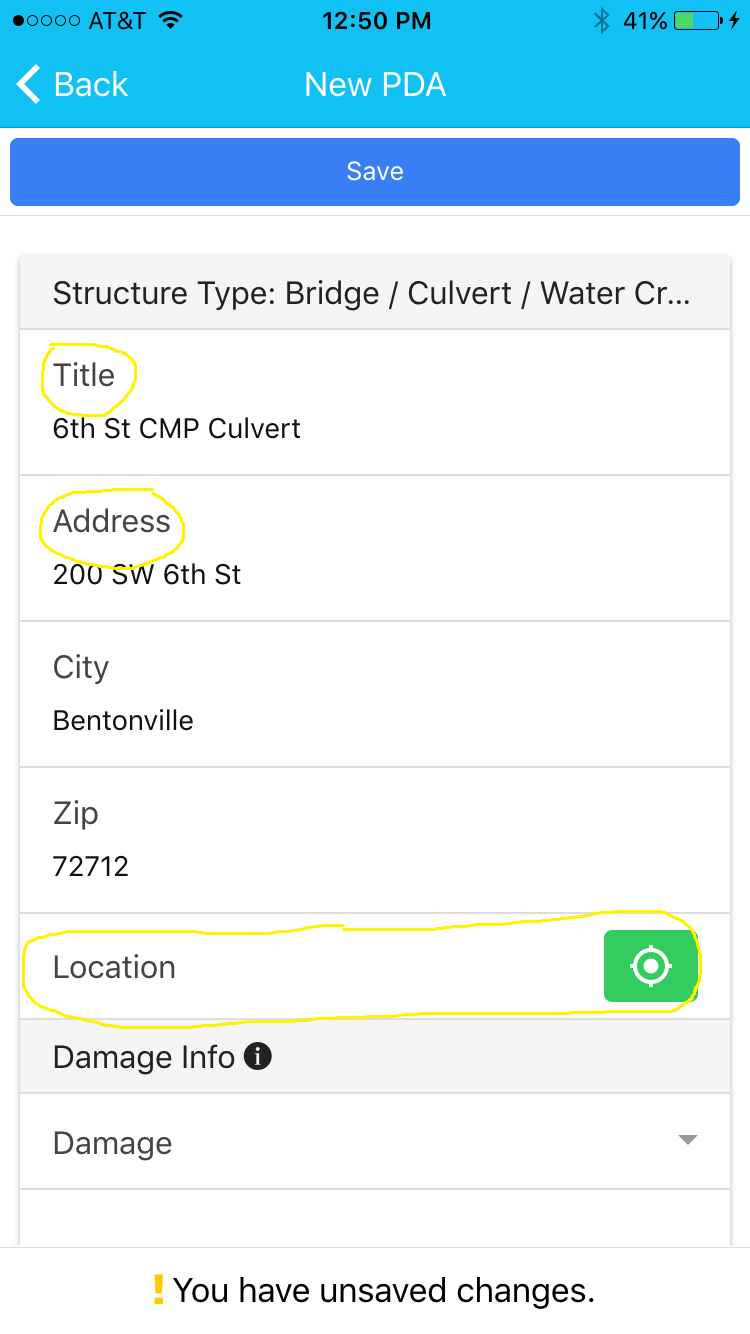
Enter Title (Damaged Site EntryName/Title)
Enter Nearest address (if known)
Click on the green Location button to acquire GPS coordinates for the START location.
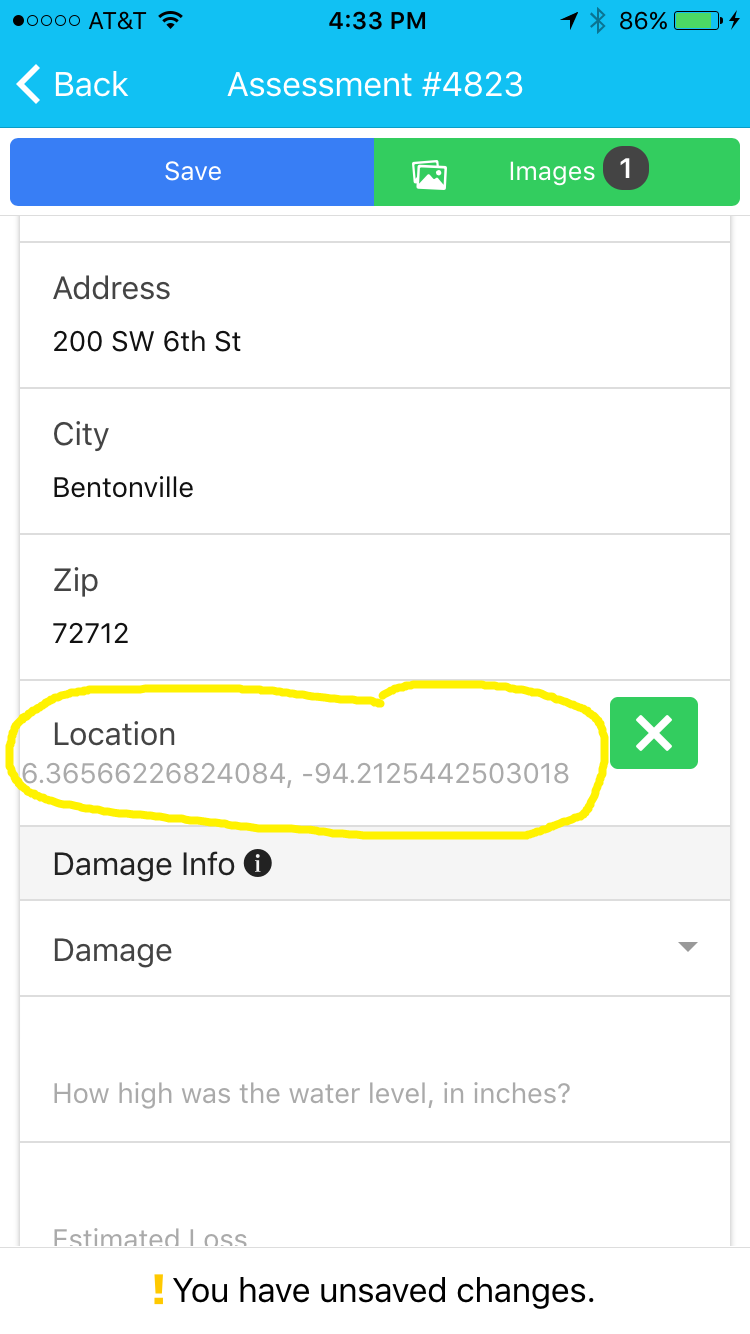
GPS Coordinates will auto-populate.
If the location is a single structure (such as a house),
Click on to acquire GPS coordinate for the END location
If the structure is a road, the system will offer you an end location GPS function.
Add all known additional info
Follow on-screen prompts to enter all known/available damage info into the appropriate fields (note, since fields are variable/dynamic, the typical asterisks or bold doesn’t appear for required fields in the mobile version of this app. The only “required” field is name/title).
Applicant/Gov’t Agency
If you are a COUNTY level agency, you’ll see field for “applicant” (cities, school districts, boards, and non-profits within your county). Select the Gov’t Agency/Applicant that OWNS and/or MAINTAINS the structure from the drop-down, enter any additional comments and click SAVE at the top of the screen.
Damage Level Drop Downs
NOTE for IA entries:
-
The drop-down for damage levels usually applies for IA only - For building / house damage,
click on the INFO “i” for a help list of Damage Levels
Contact person/Resident
If there is a contact person / resident at the location, enter their contact info


Uploading Images--Two options
After clicking SAVE on the damage assessment data, the blue SAVE button changes to a green IMAGES button with the current number of uploaded images next to it.
In app photo: Take a Picture
Click the green IMAGES button. You can then select Take Picture to use your device camera. This picture will not save to your device photo album/image gallery. In app photos will be saved with the device GPS at the time of the photo.
OR
Upload Select Images from your device photo album to upload
select Upload Image(s) to upload pictures that are already in your device’s photo album.
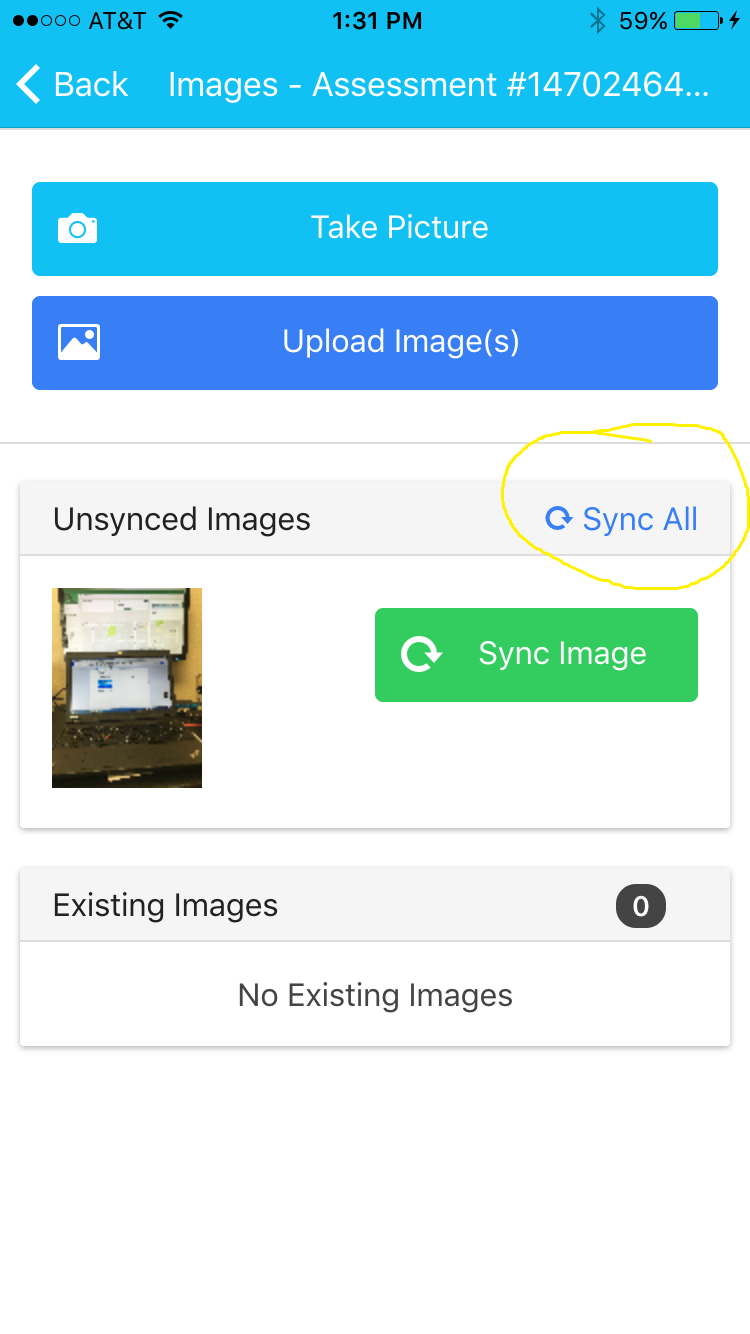
Sync Images
After taking or uploading pictures, click Sync All to sync images to the damage assessment entry.
GPS Printed on Photos
The system will print the device GPS on the photo (if the structure is road segment with a start and stop, the system will print the start GPS on the photo).
The entry is fully complete after you have saved and synced all images.
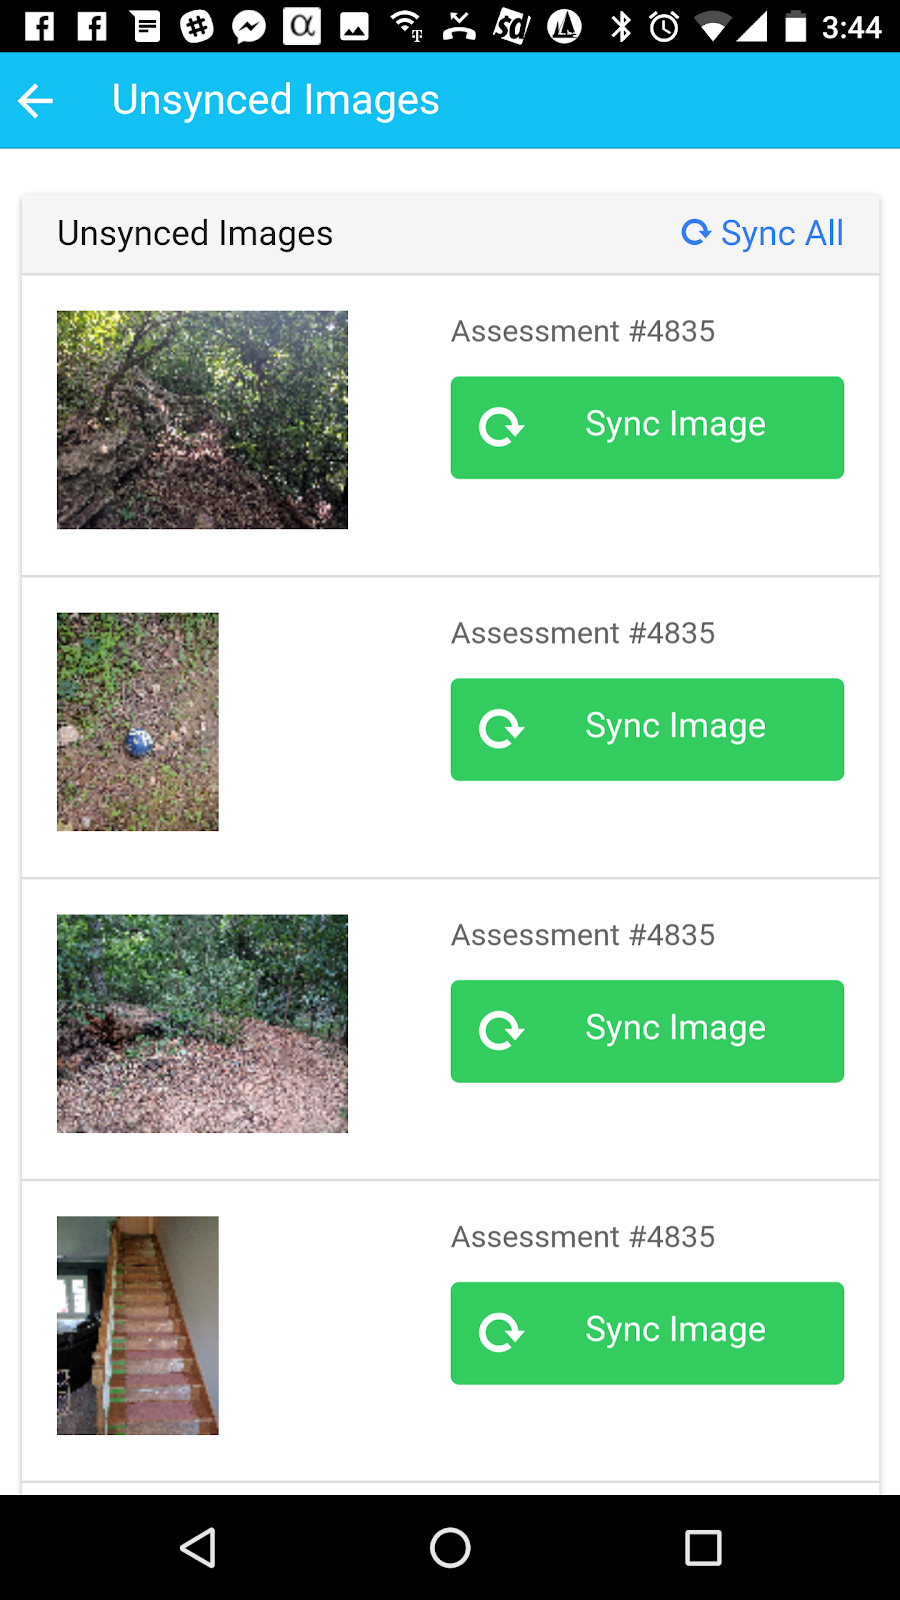
NOTE: Syncing images will use your Mobile Data if you are not connected to a wifi network. If you would prefer to wait until you are connected to a wifi network, you can easily sync any unsynced images at a later time by navigating to the Event Dashboard and tapping on ‘Unsynced Images’ and then ‘Sync All’.

Next Entry
To enter another Damage Assessment, click the Back button at the top left to go back to the Event page. Click + New Assessment to begin entering another Damage Assessment and proceed as described above.

Viewing Damage Assessment Entries
Login in, select client, click Damage Assessments and select event as described above.
Click the View Assessments button.
There are 3 viewing options at the top of the screen:
My Assessments
(silhouette of person) Displays all entries YOU have made
PA
Displays ALL PA (public infrastructure) entries made by all users
IA
Displays ALL IA (homes and businesses) entries made by all users
You can select any entry to make corrections and/or add photos within the app.
Remember to click the blue SAVE button after you have made changes and click the Sync All button after you have added photos (and returned to a wifi area if you want to avoid cellular service data).
If you do not want to save your changes, simply click the BACK button at the top left of the screen.